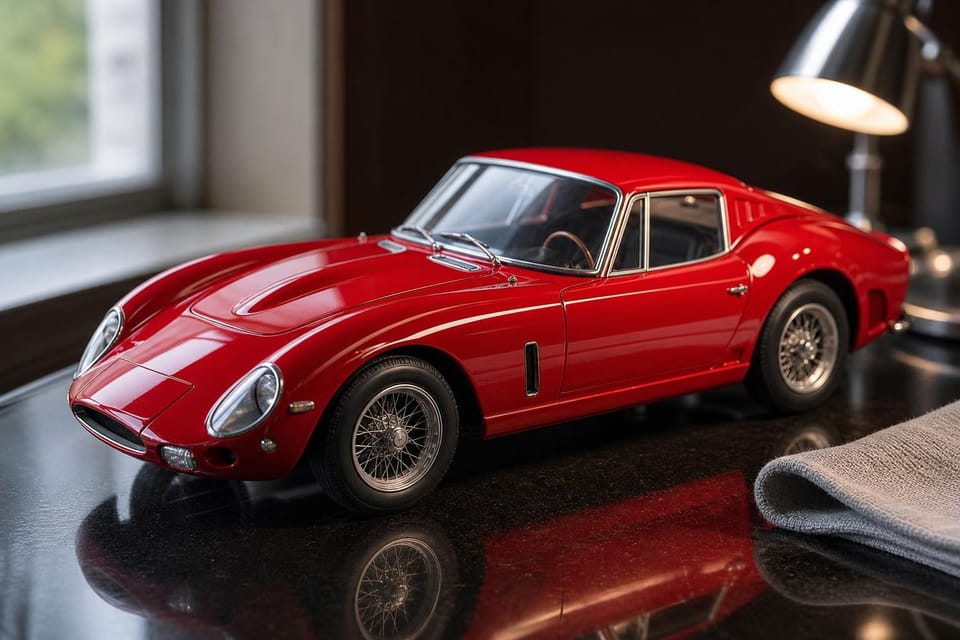
The body has been sprayed, looks perfect under the lamp, and has one tiny fingerprint that was invisible until it dried. Car modelling is a paint-first subject, and the finish is what everybody looks at before they notice the engine. The good news is that gloss is a process, not a talent.
Body preparation
Start with the body shell, because every flaw in the plastic will show through a gloss coat. Remove mould lines with a fine sanding stick, fill seams with a thin coat of filler, and check that panel gaps look intentional. Wash the shell in warm soapy water to remove release agent, and dry it thoroughly.
Prime in light coats from a fine surface primer, using the priming and filling guide as a reference for which filler suits which gap. Let the primer cure, then wet-sand lightly with a very fine grade, around 1000 to 1500 grit, until the surface feels smooth. Anything you can feel will show under gloss, and sanding now costs minutes where polishing later costs hours.
Hold the body by the inside, or on a stick fixed in the wheel arch or the door opening. Fingerprints on primer are a recurring problem, and cotton gloves do help.
Paint and gloss coats
An airbrush gives the best results, and the airbrushing guide covers thinning and pressure, but aerosol cans from Tamiya (TS range) are widely used by car builders and give good gloss with a little care. Warm the can in a bowl of warm water, spray from about 20 cm, and keep moving. Build colour with several thin coats, and avoid the one thick coat that runs.
Wait. Paint that feels dry may still be soft underneath, especially with lacquer. Leave the colour for 24 hours, then apply clear gloss in the same thin layers. A fully cured clear coat can wait for a week before polishing, and the extra days are what separate a hard finish from a soft one.
Metallic and pearl colours need extra care, because particles settle unevenly if coats go on wet. Spray lightly and keep distance constant, and let the clear coat lock them down.
Polishing
Polishing turns a decent gloss into a deep one. Start by wet-sanding any dust nibs or orange peel with very fine abrasive, 2000 to 3000 grit, and plenty of water, working in light circles until the surface is evenly dull. Then use a three-stage compound set: coarse, fine and finish. Tamiya makes one, and others from car-care ranges work too.
Apply compound with a soft cloth or cotton bud, using little pressure and short strokes, and buff until the shine returns. Avoid panel edges and body creases, where paint is thin and sanding can cut through to the primer. If a spot goes through, repaint that panel and start again, which is better than an obvious patch.
Wax over the finished surface to protect it, and keep the model in a closed case to prevent dust sticking.
Bare-metal foil and chrome
Window frames, badges, door handles and trim on real cars are chrome, and paint seldom looks right. Bare-metal foil is the answer: a thin adhesive aluminium sheet, cut with a sharp blade and pressed down with a cocktail stick or a soft tool. Lay it over the gloss paint, burnish it flat, and trim along the edge of the trim with a fresh blade.
A silver paint pen or fine brush is faster for small areas, and Alclad lacquers give a convincing chrome over a gloss black base. Fit chrome parts from the sprue only after removing the plating from the glue points with a knife, because cement cannot hold on chrome.
Decals for stripes, badges and numbers go on over gloss, and settling solutions are described in the decals guide. Seal them under a coat of clear before polishing.
Motorcycles and open-wheel cars
Motorcycle kits, usually at 1/12, are mostly engine and frame, with very little bodywork to hide behind. Tamiya’s range is the usual starting point. Every cable, brake line and bolt is visible, so the detail work that a car buries under the bonnet is the whole model here. Paint the frame and swinging arm first, fit the engine, then run brake and clutch lines in fine wire or soft thread before the tank and fairings go on.
Open-wheel racing cars and cars with removable bodies share this logic. The tub, suspension and engine are on show, and a cockpit with no roof shows the seat belts, the steering wheel and the driver’s helmet. Seat belts in thin masking tape or etched metal, painted with a dull buckle, make an obvious step up from the kit’s moulded versions. The scales guide explains why 1/24 and 1/12 became standard, and why a bigger model gives you room for the details you want.
Engine, chassis and interior
Under the body, a car kit is a collection of small mechanical parts. Paint the engine block in dull aluminium or dark grey, add washes to lower areas, and pick out hoses, belts and wiring in different colours. Spark-plug leads in thin wire or fine thread make a visible difference.
The chassis and suspension are usually painted in satin black or dark grey, then dusted lightly to look used. Interiors need the same care: dashboard dials, seat fabric, carpet and door cards, painted in sensible real colours. Look at photographs of the actual car, since factory colours were sometimes odd.
Clear parts are fitted last. Windscreen and windows are fixed with PVA or a clear-part cement, and masking tape protects the paint at the edges. Glue sparingly, since a drop that spreads onto a window cannot be hidden.
Finish with wheels and tyres. Fit them dry first, to check the car sits level, and keep the tyres slightly satin. The subjects hub lists the other five guides; the figures guide is a natural next stop if you want a driver for the cockpit.