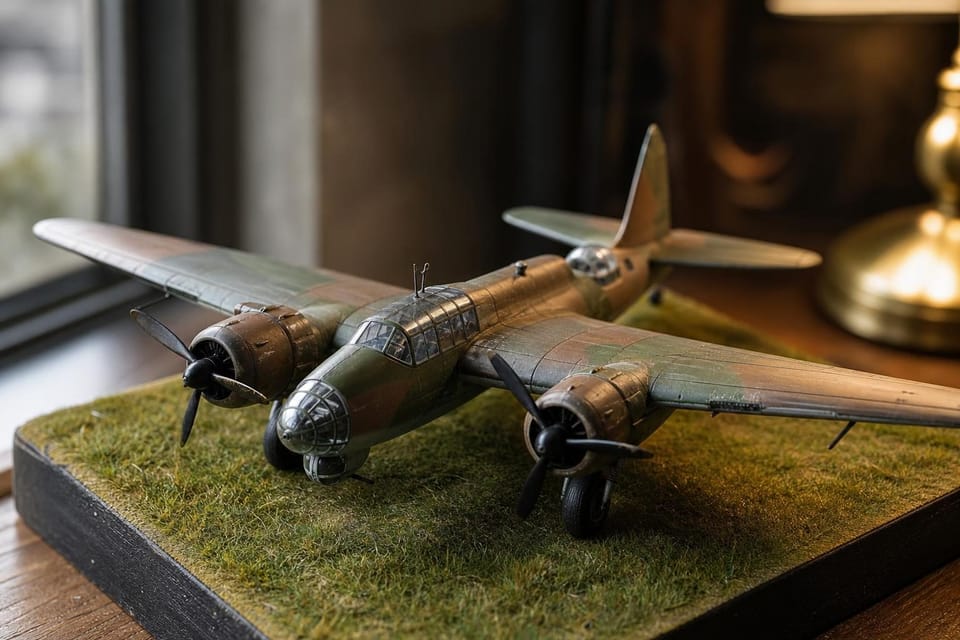
The fuselage halves are taped together and the cockpit tub rattles inside like a loose tooth. Anyone who has built an aircraft kit has done this once: closed the fuselage before the interior was finished, and spent the next hour looking through a canopy at bare grey plastic. A good aircraft build is mostly about order, and the order starts inside.
Build the cockpit first
The cockpit is the one part of the model that nobody can reach again after the fuselage closes, so it gets finished first. Paint the tub and seat in the interior colour for the aircraft: pale greens, greys and blacks are all used depending on nationality and period, and a reference photo from a museum walkaround saves guessing. Dry-brush the raised details with a lighter shade, run a thin dark wash around the instrument panel, and add a pilot figure if the kit includes one.
Check that the tub sits square in the fuselage before cement goes near it. Most fit problems in aircraft come from a cockpit that is a millimetre too wide, which opens a gap along the nose or splits the fuselage seam. Shave the sides with a sanding stick until the halves meet without pressure, and fix any loose parts with the right glue for each material.
Weight goes in at this stage as well. A nosewheel aircraft with engines far forward tends to sit on its tail unless something heavy is placed ahead of the nosewheel bay. Lead shot or fishing weights set with PVA are common choices, and balancing the model on a pencil under the wing roots shows if the cement has done its job.
Canopies: mask, fit, seal
Clear parts are the most visible thing on an aircraft, and the easiest to ruin. Dip the canopy in a floor polish such as Johnson’s Klear, or a similar acrylic, before masking, which fills tiny scratches and gives a glassy finish. Let it dry for a day.
Masking comes next. Pre-cut sets such as Eduard Express masks give clean frames on many popular kits, and where none exist, thin strips of Tamiya masking tape laid along the frame lines do the same job. Burnish each edge with a cocktail stick so paint cannot creep underneath. The canopy is attached with clear PVA, not cement or superglue, because solvent fumes fog clear plastic and cannot be removed.
Paint the frames after the canopy is fitted if the kit allows it. A fine brush will cover the lines, and any overspill can be cleaned with a damp cotton bud. Only then remove the masks, slowly and at a low angle, so the paint does not lift.
Seams on wings and fuselage
Seams are where the model gives away its shortcuts. The wing root, the fuselage spine and the underside join are the three places where plastic parts meet visibly, and each one needs attention. Fill each one with a thin layer of filler or a few coats of liquid cement, sand it flush, and check by running a fingernail over the join: if you can feel it, you will see it under paint.
Be careful not to sand away panel lines at the same time. Rescribe lost lines with a scriber or the back of a knife blade, guided by a strip of tape. The priming and filling guide covers filler types and which suits each gap, and a coat of primer will show anything you missed.
Parts that fit tightly need no filler, only a nudge. Test every wing against the fuselage before any glue appears, because a wing that sits at the wrong dihedral angle is hard to correct once it has set.
Camouflage and demarcation lines
Many British and German aircraft carried two or three colours in sharp patterns, and the border between them, the demarcation line, makes or breaks the look. On a Spitfire or Hurricane in the standard temperate scheme, the edge between dark green and dark earth is slightly soft in reality, and a razor-hard line looks like a toy.
An airbrush gives control here. Cut thin rolls of Blu-Tack, lay them along the pattern, and spray at a low angle toward the edge; the putty lifts the paint just enough to give a soft border. For hard edges, such as German splinter patterns, use low-tack tape and spray lightly. The airbrushing guide covers thinning and pressure for this work.
Brush painters can still get good edges by stippling the transition with a nearly dry brush, or by painting the pattern in thin glazes until the border turns soft. It is slower, and the results are easily as good.
Decals come after a gloss coat, which gives them a smooth surface to settle on. The decals guide deals with softener solutions and how to avoid silvering. After the decals, add panel-line washes and light weathering, which the weathering guide sets out step by step.
Rigging a biplane
Rigging is what puts people off biplanes, and it is less awful than its reputation. The wires on a First World War or interwar aircraft are visible lines between wings and struts, and a model without them looks unfinished.
Three materials are common: stretched sprue, a thin elastic thread such as EZ Line, and fine wire. Stretched sprue is made by holding a piece of plastic over a candle and pulling the ends apart as it softens, giving a hair-fine rod that can be cut to length. Elastic thread is easier because it stays taut. Whatever the material, drill tiny holes in the struts, thread the line through and fix it with a drop of superglue.
Build the airframe in this order: lower wing, fuselage, struts, upper wing, rigging, and paint the wires only at the end. Dry-fit the upper wing first, because a wing that does not sit parallel makes every wire the wrong length. The scales guide will help you decide on 1/72 or 1/48, since a biplane at the larger size has wires you can actually thread.
Finishing the model
Seal the paint and decals with a coat of varnish, usually matt for military aircraft and satin or gloss for civil and pre-war types. Remove the canopy masks last, and add aerials, pitot tubes and other fragile parts after handling is over; they snap off easily.
A finished aircraft is judged from every side, so check the underside and the wheel bays as well. Then move on to the next one: the subjects hub lists the other five guides, and the next build is an excellent excuse to try one of them.