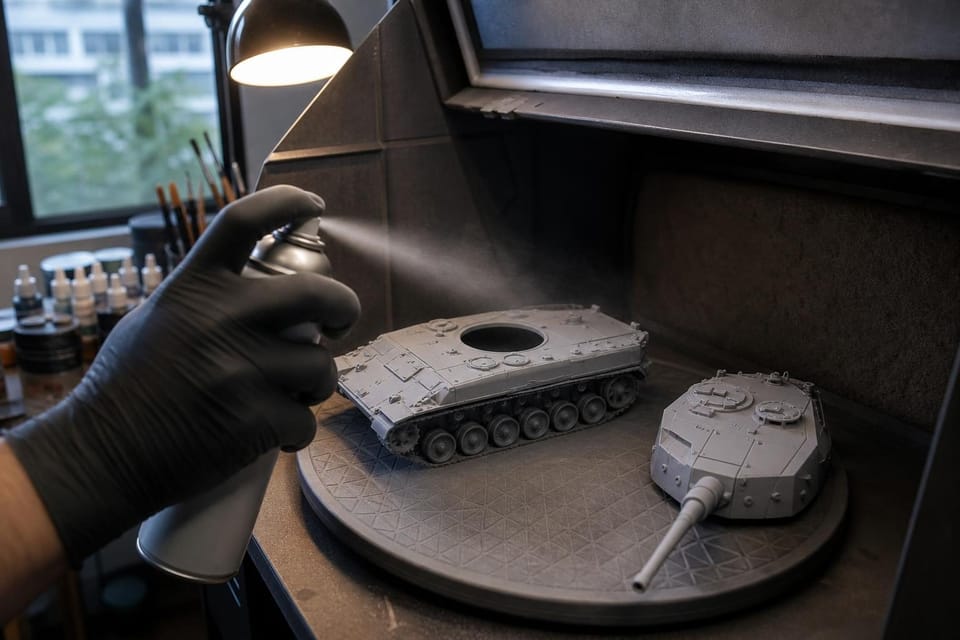
Hold a grey fuselage under a lamp and tilt it. The line down the middle, the dents at the wing roots and the pale scars where the parts were cut off the sprue stand out at once. Put paint over the top and they will look twice as bad. This stage of the build is about finding them while they are still easy to fix, and the order is simple: fill, sand, prime, check, repeat. It follows on from the joins described in the glue guide.
Finding the problems before paint does
Look for four things: seams where two halves meet, steps where one part sits higher than its neighbour, gaps at joins such as wing roots, and marks left by the mould, including ejector pin dimples and sink marks. A fingertip finds a step more reliably than an eye does, and a torch held low across the surface throws every dip and ridge into relief.
Mark each defect with a soft pencil, then work through the list. A seam that needs only a light sand can wait for the primer test, whereas a visible gap needs filler now.
Fillers: putty, superglue and slurry
Modelling putty is the standard filler. Tamiya Basic Putty and Squadron putty come in tubes, set by solvent evaporation and sand well. Apply a thin, slightly proud line along the seam with a cocktail stick or the tip of a knife, let it harden for several hours and sand it level.
Thin gaps, up to about half a millimetre, take a drop of gel superglue pressed in and levelled, or a fillet of liquid cement and melted plastic. Wider gaps, such as an open wing root, are better filled with a strip of plastic card glued in first and then smoothed with putty.
Two-part epoxy putties, Milliput among them, suit large gaps and rebuilding lost shape. They harden into something very tough, so sand them while still slightly soft, or use a knife to shape them.
Whichever filler you use, apply it in several thin layers rather than one thick one. Thick filler shrinks as it dries and leaves a groove that appears only under paint.
Sanding without losing detail
Start with a medium grit around 400 on a foam-backed stick, work along the seam rather than across it, and keep a light pressure. Move to 600 and then 800 or 1000 until the surface feels smooth. Wet-and-dry paper with a drop of water cuts quicker and clogs less, but keep water away from cardboard-backed sticks and from parts with fragile detail.
Flat sticks flatten curves, so use a curved stick or a folded piece of paper around a fuselage. Sanding removes raised detail and panel lines on the way, and scribing them again with a scriber and a strip of tape as a guide makes good the loss. A fine scribed line looks better than a heavy one.
Photo-etch, resin and clear parts
Not every part in a box is polystyrene. Resin upgrade parts carry a release agent from the mould, so wash them in warm soapy water and let them dry before filling or priming. Brass photo-etched parts need a light rub with a fine abrasive and a coat of etch primer or a brush-on acrylic primer, because ordinary paint can flake off bare metal.
Clear parts such as canopies and lamp lenses should not be primed at all. Mask the glazing with tape cut to shape, or a film of liquid mask, and paint only the frames. Fill any seam on a canopy with a drop of PVA canopy glue rather than putty, since sanding clear plastic leaves it cloudy.
Small subassemblies, such as cockpit tubs, wheel bays and engine blocks, are best primed and painted before they are closed up inside the model. Filling comes first on anything that will be visible once assembled.
Choosing a primer
Primer is a thin paint made to stick to plastic, filler and resin alike. Spray versions such as Tamiya Fine Surface Primer, and liquid primers for the airbrush such as Mr. Surfacer 1000, give the smoothest finish. For a brush, Vallejo Surface Primer and similar acrylics go on in two thin coats. The airbrushing guide explains how to thin and spray the liquid types.
Colour matters because it shows through the topcoat. Light grey is a general-purpose choice and exposes flaws. Black deepens shadows and suits dark finishes, while white gives yellows, reds and light colours a clean base. Some modellers prime in black and then lighten the centre of each panel, a method called pre-shading, though a plain primer works fine for a first kit.
Applying it
Shake a rattle can well, keep it at about 20 cm from the part and make light passes that start and finish off the model. Several thin coats beat one heavy one, which can bury detail and run. Spray outdoors or with a window open, away from flames, and leave the part to cure fully, which usually means a few hours.
Keep the cleaning in mind too. Dust from sanding settles into a primer coat and shows as roughness, so wipe the part with a damp cloth or rinse it and let it dry first. A soft, dry brush clears the last of it from panel lines.
Humid or cold air makes primer cloud and dry rough. A warm room, a dry day and a part that has had time to settle give a smoother result. If the surface turns dusty, it was sprayed from too far away or the air was damp.
A practical sequence ties it together. Join the main parts, leave them to cure overnight, fill and sand the seams, wash off the dust, prime, inspect under a low light and fix what shows. Then prime once more. The loop sounds slow, but each pass takes minutes, and a surface that passes it will take paint cleanly.
Reading what the primer shows
Once dry, primer reveals what was hidden. Seams that vanished under bare plastic appear as fine lines. Sanding scratches show as grooves, and tiny pits show as dots. This is the reason for priming before painting, and the fix is plain: sand lightly or fill, then prime that spot again.
A small step or scar can be filled with a drop of primer applied by brush, or a thin liquid surfacer such as Mr. Surfacer, then sanded when dry. It is common to prime two or three times in a build, and nothing is wasted by it.
A smooth surface matters most for cars, whose glossy paint reveals every flaw, as the cars guide explains. On armour and aircraft with a matt finish a few small marks vanish under weathering.
When the primed surface is clean under raking light, the model is ready for colour. The brush painting guide picks up from here, and the tools guide lists the sanding sticks and scribers used above.